Automation for Home / Office
The basic of automation is "On / Off of any instruments" once or repeatedly throughout the day, based on certain inputs. The Inputs are called "Events" and switch control is called "Actions".
Any device which monitors for the events and based on the event trigger the action is controler for the automation. for example
- if we want to operate the garden pump for one hour to water our garden plants and top the drip irrigation tanks, we would require a TIMER Controller, which we can program for "Time Events" say at 5PM to 6PM every other day in Summer and once a week in Winter.
- may be a simple garden light or Name Board Light, to be switched on every evening till 10PM.
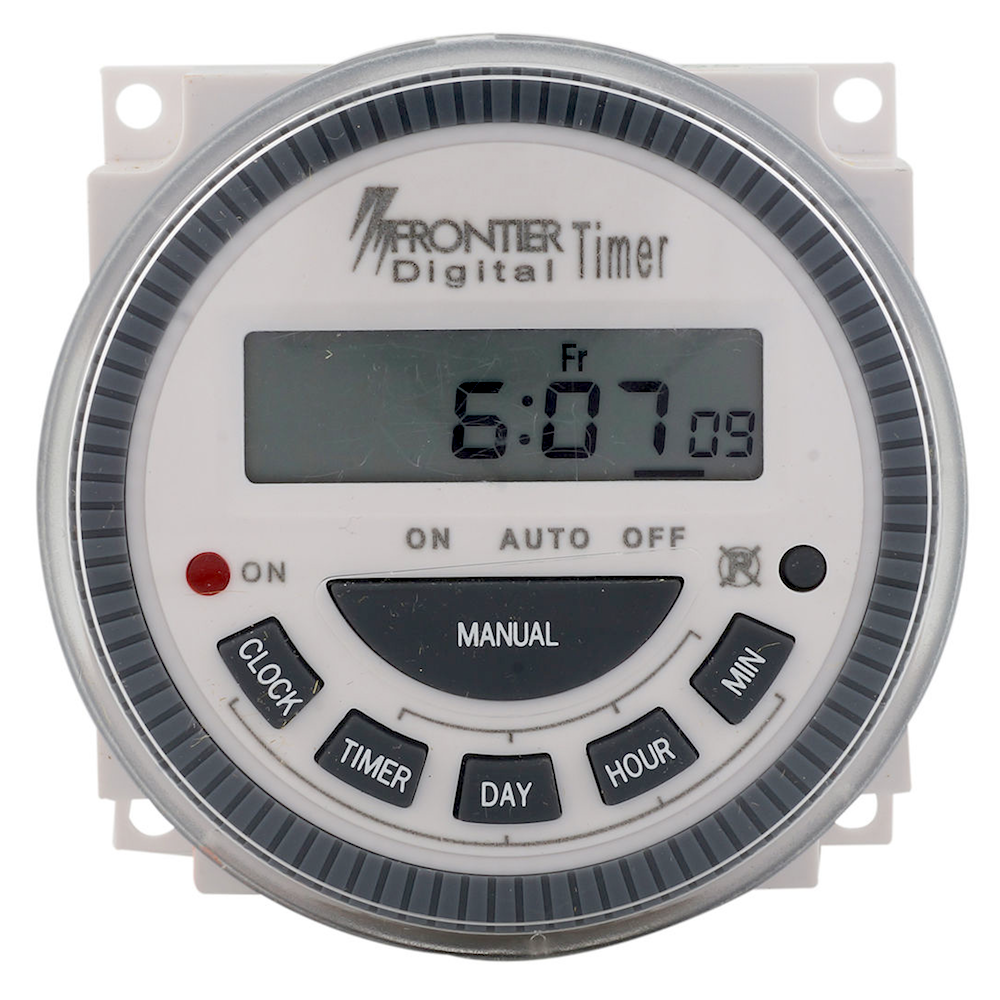
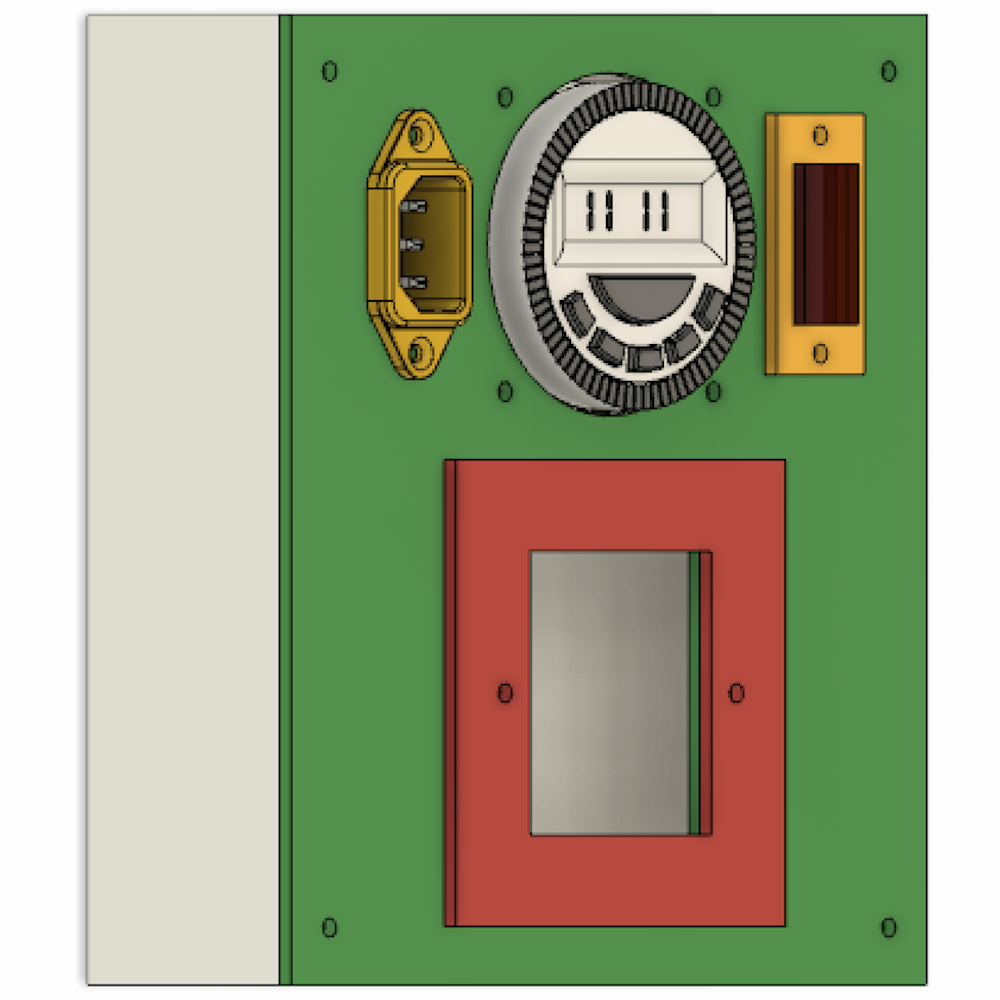
in the above examples, events are time based and the actions are relay controls. A programmable Timer can be built using Raspberry PI (35 USD) or Arduino Boards (20 USD), which would allow for great flexibility in the design and expansion of the Home Automation Project. But for the example a ready available timer like TM-619 would do the job
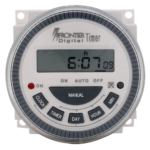
Working Power Supply
The TM-619 is Available with 12V, 110V, 230V. hence while purchasing make sure you select the correct voltage timer
- TM-619-1 : is 110/120 VAC
- TM-619-2 : is 230/240 VAC
- TM-619-3 : is 24V AC/DC
- TM-619-4 : is 12V DC
Relay Contact
The Next Variable that you have to be careful about, is the Relay Output: there are Three variation 16AMPS / 20AMPS / Voltage Free 16AMPS
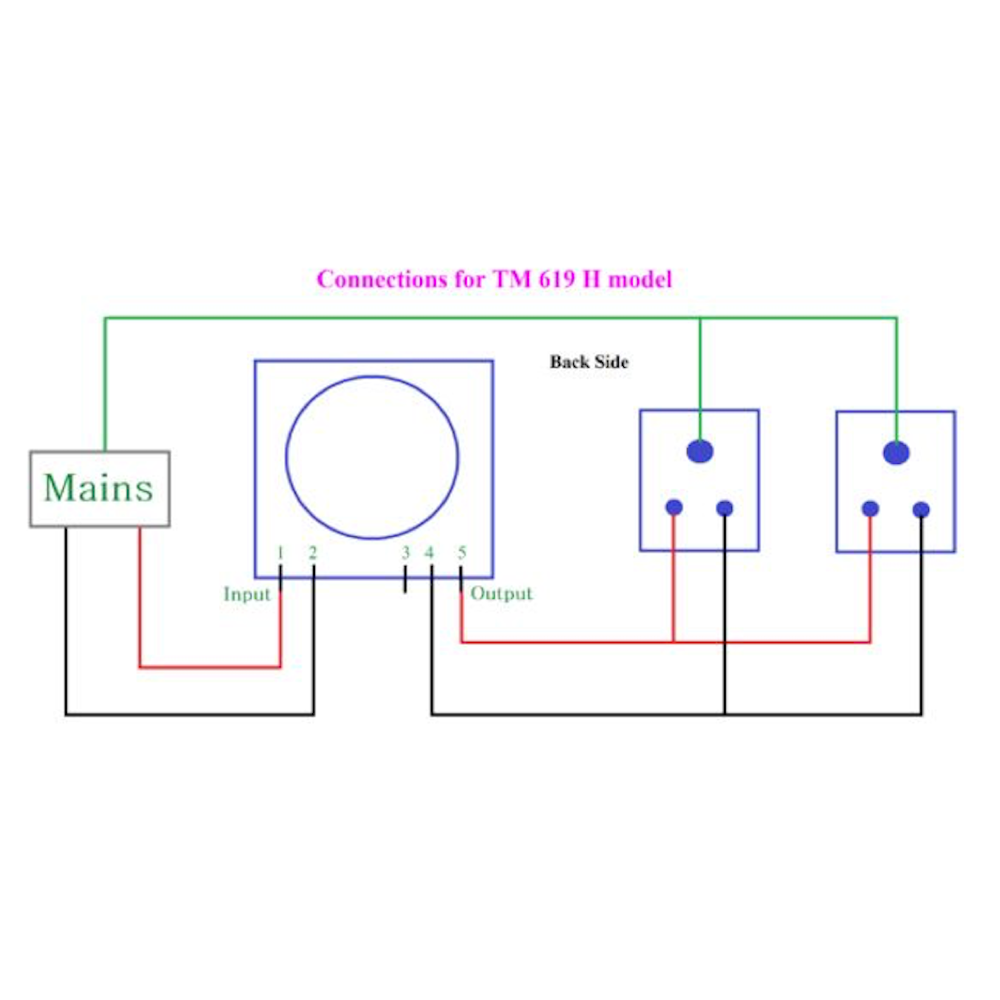
- TM-619 -2 : is 230/240 VAC : 5PIN Voltage Free 16AMPS
- TM-619L-2 : is 230/240 VAC : 4PIN 16AMPS
- TM-619H-2 : is 230/240 VAC : 4PIN 20AMPS
Note
5Pin is Voltage Free and the 4Pin the Phase is switched, hence carefully carry out the installation
5PIN
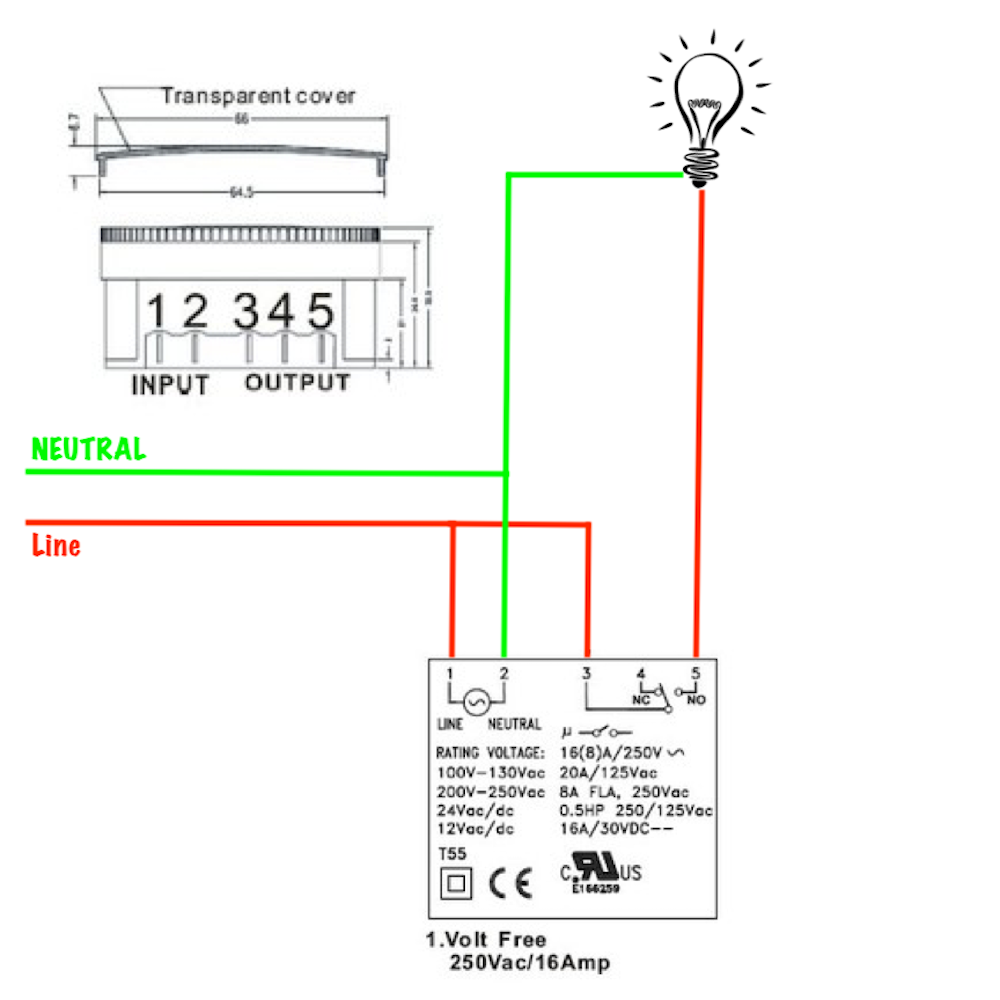
4PIN
